How to Make a K-pop Fan Photo Booth Strip Online
A good K-pop fan strip feels like a small piece of fan culture, not a collage with every sticker you own. Start with a simple frame, choose one visual accent, and let the photos carry the memory of the comeback, concert or fan meeting.
Pick a fan workflow
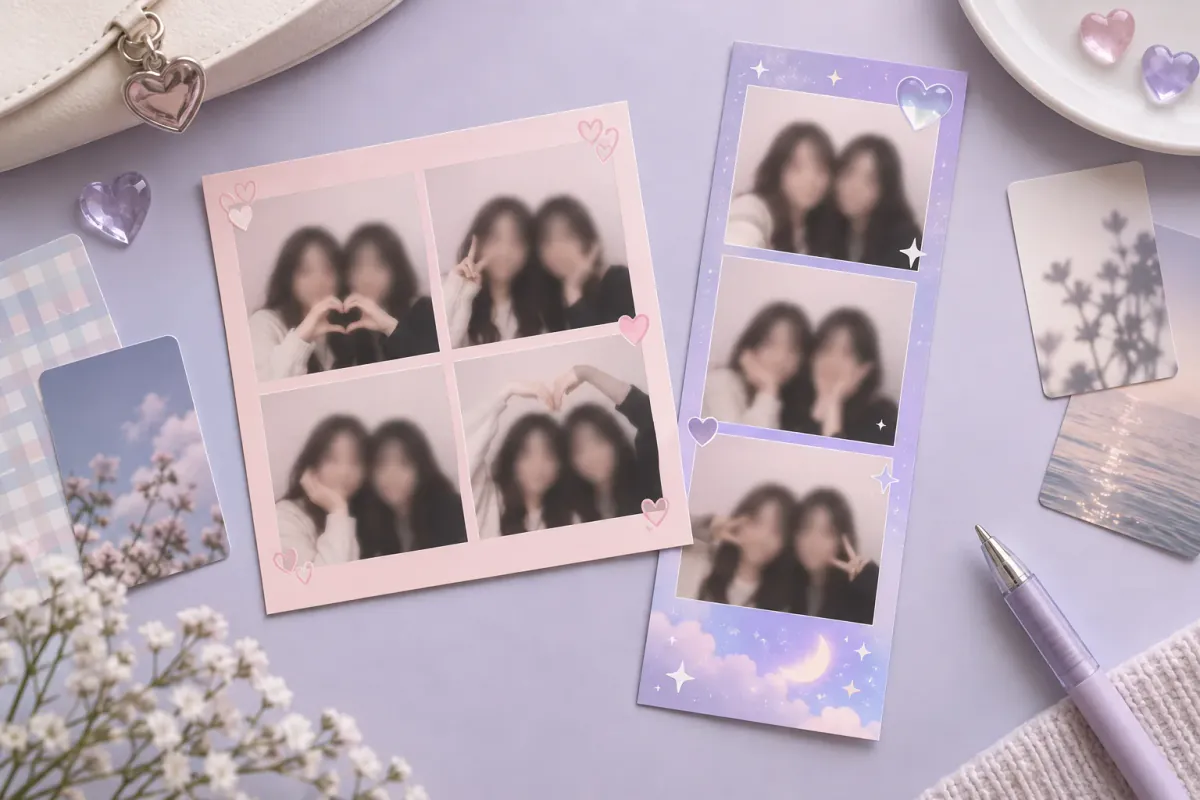
Open the Idol Pink photo booth. Fill the four frames with your camera, your gallery, or a mix of both. In Decorate, keep the Soft filter, add one or two stickers, and write a short caption. For a more personal result, upload a PNG frame with transparent photo windows or add your own PNG sticker.
The tool includes an original pastel style; it does not ship official group artwork or idol photos. That keeps the design reusable and leaves the fan choices to you.
What gives a strip a K-pop feel
You do not need an official frame to get the visual language right:
- Use one clear palette: blush pink, lilac, sky blue or black and white.
- Keep the caption short. A fandom name, occasion or date is enough.
- Use small hearts, sparkles or bows as accents instead of covering the photos.
- Mix polished and playful poses. One candid frame usually feels more personal than four identical smiles.
- Keep the faces at a similar scale so the strip looks designed.
Make the strip online
- Open the Idol Pink style. It starts as a four-photo grid with pastel colour, a soft filter and a few small stickers.
- Under Photos, tap Take 4 photos and choose a 3, 5 or 10-second countdown. Choose 5 seconds if you want time for hand poses.
- After each frame, tap it to drag or zoom the crop. The crop controls are useful when one photo has more headroom than the others.
- Open Decorate. Edit the caption, switch fonts, add a sticker or turn on Retro date stamp on each photo.
- Save with Save to Photos, Save to phone or Download photo, depending on your device.
Already have the photos? Choose Choose from gallery. You can select four images at once or fill individual boxes one by one.
Three ways to include a bias photo
Put the photo in one frame
This is the cleanest option. Use three frames for your own photos and fill the fourth with a saved bias photo. Match the crop and approximate eye level so the visual rhythm stays consistent.
Add a transparent cut-out
If you have a transparent PNG cut-out, open Decorate → Your PNG. Drag the yellow corner handle to resize it. Use Behind frame when you want the cut-out to sit behind a custom frame overlay rather than on top of the photos.
Use images you have permission to save and share. Avoid treating a fan artist’s cut-out or someone else’s photograph as your own artwork.
Upload a custom fan frame
A custom frame is the most flexible route for a birthday café, concert day or comeback project. Prepare a PNG with transparent areas where the photos should appear, then:
- Open Style → Upload frame PNG.
- Let the booth detect the transparent photo windows.
- If a window is misplaced, choose Adjust photo boxes and drag or resize it.
- Fill the windows from Take photo or Choose from gallery.
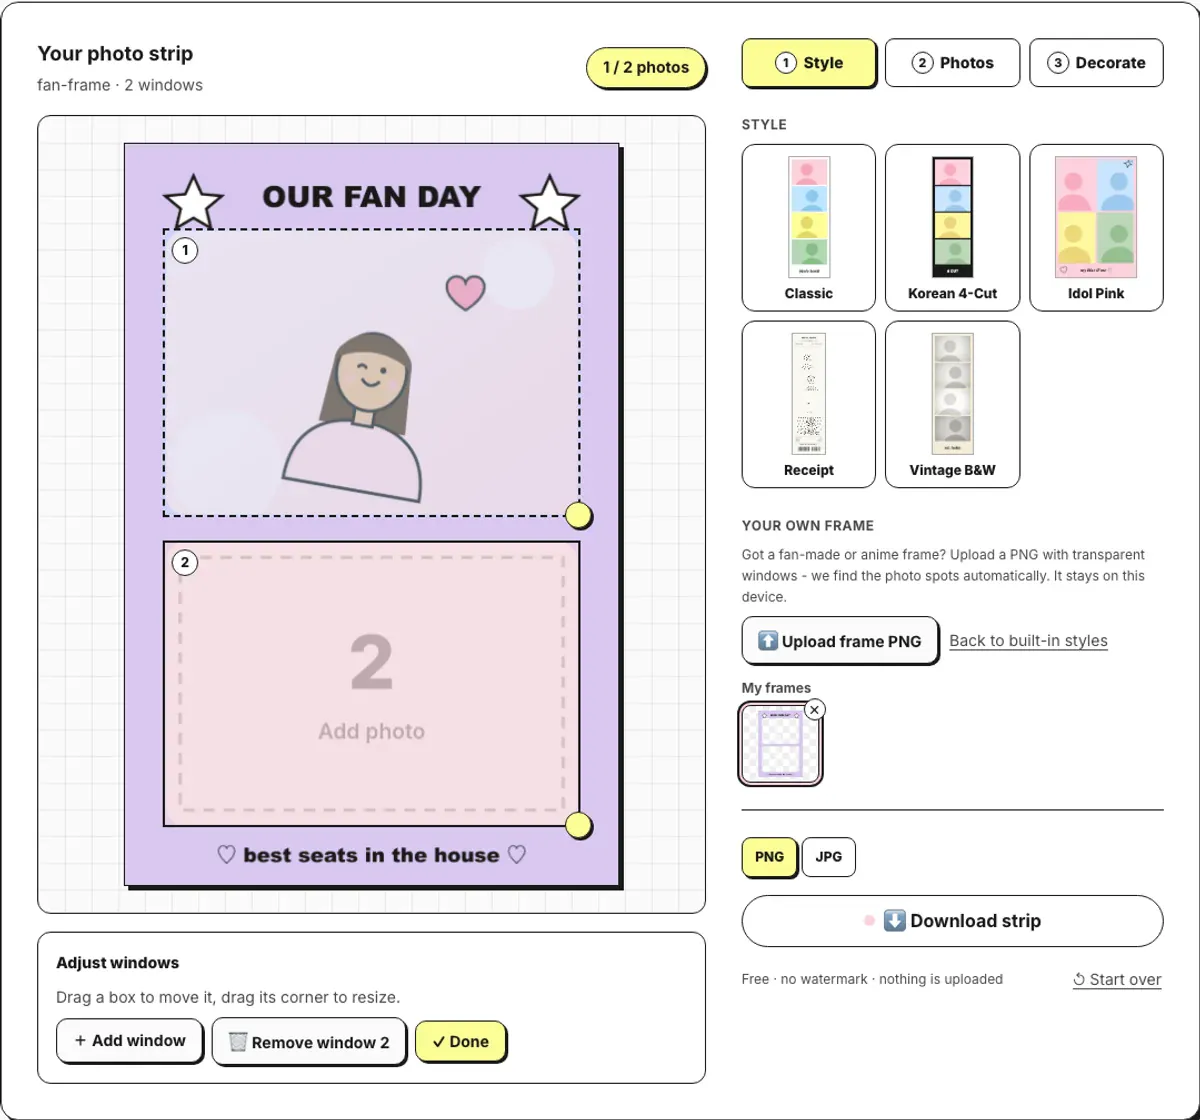
The frame must contain real transparency. A JPG cannot provide transparent windows, and a checkerboard pattern baked into a PNG is not transparency. Your saved frames remain in My frames in this browser.
Pose ideas that photograph well
- Finger heart near the cheek
- A peace sign under the chin
- Two people making half a heart
- Copying the pose and head tilt from a favourite concept photo
- One deliberately candid laugh in the final frame
For a larger list with four-frame sequences, see photo booth poses.
Captions that do not overwhelm the photos
The caption area is small, so try one of these formats:
concert day · 2026my bias & meD+100fan meeting / city- the date only
If the frame already contains artwork, remove the caption and let the frame do the talking.
Be thoughtful with fan-made assets
Use official or fan-made images according to their creator’s rules. Credit fan artists when they ask for credit, and do not sell prints using someone else’s photo, logo or frame without permission. The safest approach is to create a personal copy, keep the source visible in your notes, and share the finished strip only where the asset owner allows it.
One last check before sharing
- Check the source. Use an idol photo, fan frame or cut-out only where the creator or rights holder allows it. Credit fan artists when their terms ask for credit.
- Check the crop. Faces should sit at a similar height; a consistent crop makes a mixed set look intentional.
- Check the destination. The strip is created in the browser and stays on your device while you edit, but sharing it is still your choice.