How to Make a Receipt-Style Photo Strip Online
A receipt-style photo strip turns a normal photo sequence into a small keepsake. The off-white paper, black dot texture and torn edges make it feel like it came from a thermal printer, while the photos and caption keep it personal.
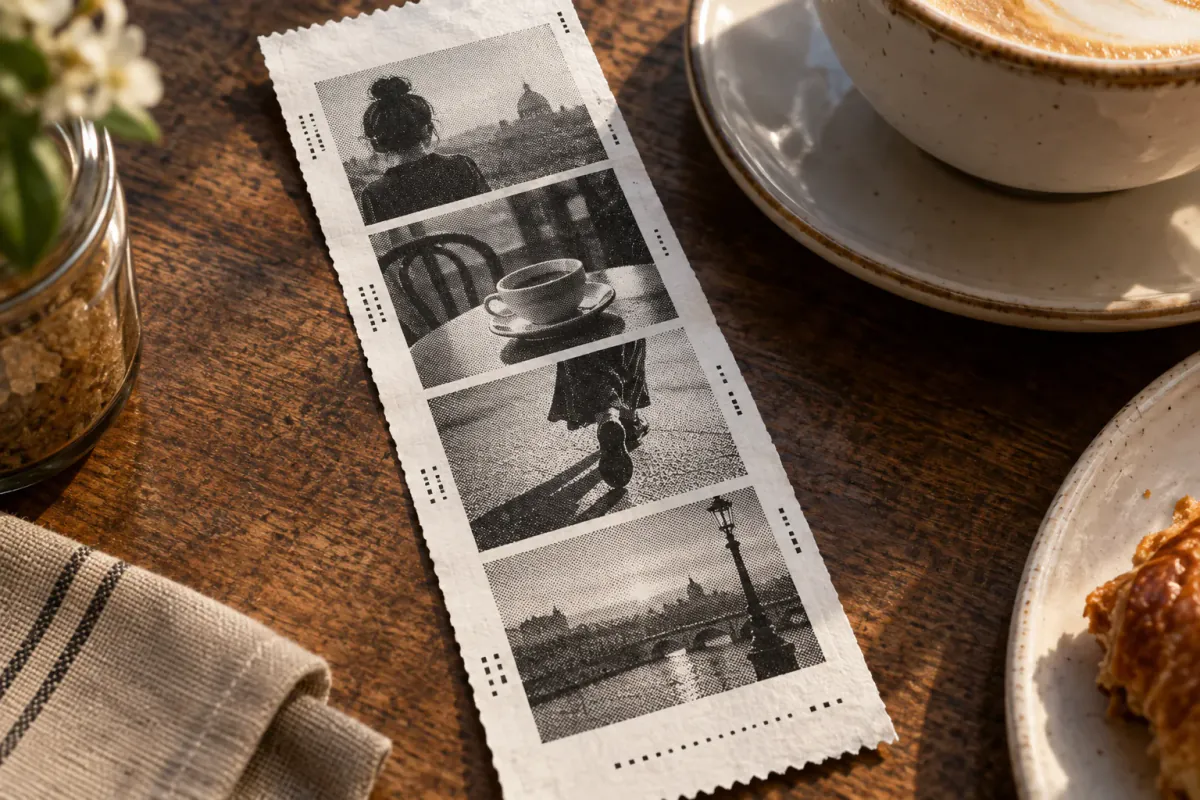
What the template gives you
Open the Receipt photo booth, choose Take 4 photos or Choose from gallery, and fill the strip. The template applies the thermal-dot effect and adds receipt details for you. In Decorate, change the thank-you line, then save.
What makes the effect readable
Thermal-style images reduce colour and fine detail to a small range of dark dots. That means the best source photos are not necessarily the most colourful ones. Look for:
- Even light on faces
- A plain background
- Clear separation between hair, clothes and background
- Large expressions and recognisable silhouettes
- Less tiny texture in the background
Dim rooms usually become a grey field. Move toward a window or lamp before taking the photos.
Make a receipt strip online
- Open the Receipt style.
- Choose Take 4 photos for a timed sequence, or Choose from gallery for existing images.
- Keep the camera or faces well lit. The preview shows the high-contrast direction of the final effect.
- In Decorate, edit the thank-you line. Names, the event and one short joke all work.
- Save as PNG for a crisp digital file or JPG when a print service asks for it.
Receipt and film styles are vertical strips. Choose Strip of 3 if you want each photo to have a little more room.
Receipt caption ideas
The joke works best when it sounds like a real transaction:
1× BEST FRIEND — PRICELESSORDER: 2 ICED LATTES & USRETURNS NOT ACCEPTEDTABLE 4 — THE LOUD ONEKEEP THIS RECEIPTTHANK YOU FOR COMING
Keep the line short. A long sentence becomes difficult to read once the strip is printed small.
Where to use one
- A café-themed birthday or pop-up
- A wedding guestbook
- A party favour tucked into a card
- A game-night “winner” or “refund” receipt
- A small gift with the date and location
If you print on a thermal or mini receipt printer, keep the original file too. Thermal paper can fade faster than regular photo paper.
Receipt, Vintage B&W or Classic?
| Style | Visual effect | Choose it when |
|---|---|---|
| Receipt | Dotted black-and-white paper with receipt details | You want the print to be the joke |
| Vintage B&W | Grainy monochrome with a softer border | You want film-booth nostalgia |
| Classic | Full-colour photos on a clean strip | You want the people and colours to stay natural |
If the result looks muddy
Start with more light, not more decoration. A bright face against a plain background gives the dot pattern room to read. If the first export still looks flat:
- Replace a dim photo with one taken near a window.
- Remove a busy background or crop closer to the subject.
- Use darker clothing against a lighter wall, or the reverse.
- Switch to Strip of 3 when four frames make the faces too small.
The thank-you line is editable; the receipt header, order details and total are generated by the template. The effect is rendered in your browser, so your photos stay on your device while you work.