How to Make a Photo Strip at Home: Sizes, Printing and Ideas
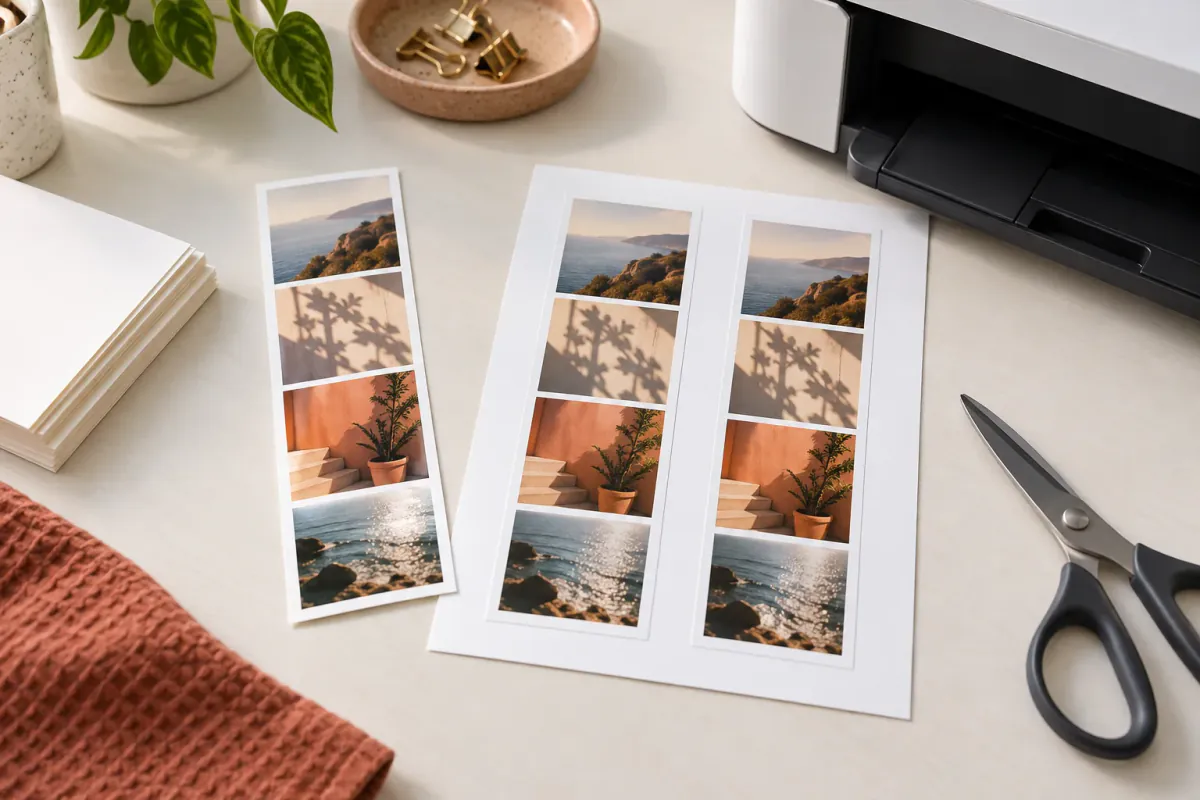
You do not need a dedicated booth or a special printer to make a photo strip. The easiest workflow is to build the strip online, export two copies on a standard 4×6 print, and cut it in half. From there, it can become a bookmark, a phone-case insert, a scrapbook piece or a small gift.
The quick workflow
Open the online photo booth, choose a layout, fill it from your camera or gallery, and save the result. If you want two physical strips, tick 2 copies on one 4×6 print in the save area. Print the sheet at 4×6, then cut the center gap.
Which size should you use?
The classic narrow strip is roughly 2×6 inches. Two of those strips fit side by side on a 4×6-inch photo print. Exact margins depend on the printer and the template, so leave a little border rather than designing to the edge.
| Output | Best for | Practical note |
|---|---|---|
| Strip of 4 | The classic keepsake | Four smaller frames, one vertical story |
| Strip of 3 | Larger portraits | More room for faces and captions |
| Grid of 4 | Social posts and groups | Wider, easier to read on a screen |
| Grid of 6 | Longer sequences | Useful when one moment needs more frames |
For a first attempt, choose Strip of 4 and 2 copies on one 4×6 print. It is the most forgiving combination for sharing.
Make a strip in five minutes
- Open the photo booth and select Strip of 4 under Style or Photos.
- Choose Take 4 photos for a timed session, or Choose from gallery if the images already exist.
- Reframe any photo by dragging it inside its box and zooming until faces are balanced.
- In Decorate, choose a filter, add a short caption or turn on Retro date stamp on each photo.
- Select PNG for a crisp digital copy, or JPG when a printer or sharing service asks for it.
- Tick 2 copies on one 4×6 print if you want two strips, then save.
The tool handles the layout; you do not have to build a 4×6 canvas in a separate design app.
Themes that give the strip a reason to exist
- Birthday: use the date and one short wish; keep the same frame for everyone.
- Date night: choose a soft or instant-film look and put the location in the caption.
- Sleepover: make the second frame the silly one and add one sticker per person.
- Travel day: use one photo of the group, one detail, one view and one final group shot.
- Fan day: choose a pastel frame, a shared heart and the event name.
- Monthly check-in: keep the same layout and change only the date.
The photo booth poses guide can help you plan the four frames before you start.
Caption ideas
Short captions survive small print better than sentences:
city · seasonJ + Mbest dayday 100keep this one- the date only
If the photo itself is busy, remove the caption and leave more breathing room.
Printing tips
- Choose fit or actual size, depending on whether you want the margins preserved; avoid fill when the printer may crop edges.
- Use glossy photo paper for bright colour, or matte paper for a softer scrapbook feel.
- If you use sticker paper, match the paper to your printer type and let the ink dry before cutting.
- Print one test sheet before making a whole batch.
- Keep the digital file too; small thermal or sticker prints can fade and scratch.
You can also send the saved 4×6 sheet to a photo kiosk or online print service. It is a normal image file, so no special booth hardware is required.
Ways to use the finished strips
- Tuck one behind a clear phone case.
- Add one to a journal or travel scrapbook.
- Use a strip as a bookmark.
- Put two copies in a card or gift.
- Hang a row of monthly strips with clips.
- Post the single strip to a story and keep the 4×6 sheet for printing.
FAQ
What is the usual photo strip size?
The familiar narrow strip is about 2×6 inches, and two strips fit on a 4×6 photo print. The exact printable area varies by template and printer margins.
Can I make one without a photo booth?
Yes. Use the browser-based photo booth with your camera or gallery, then save the strip.
Can I print it on regular paper?
Yes, but photo paper gives better colour and edge definition. If you use regular paper, choose a heavier sheet and test the scale first.
Is there a separate app I need?
No. The browser tool is enough for creating and saving the strip.