How to Make Purikura-Style Sticker Photos Online
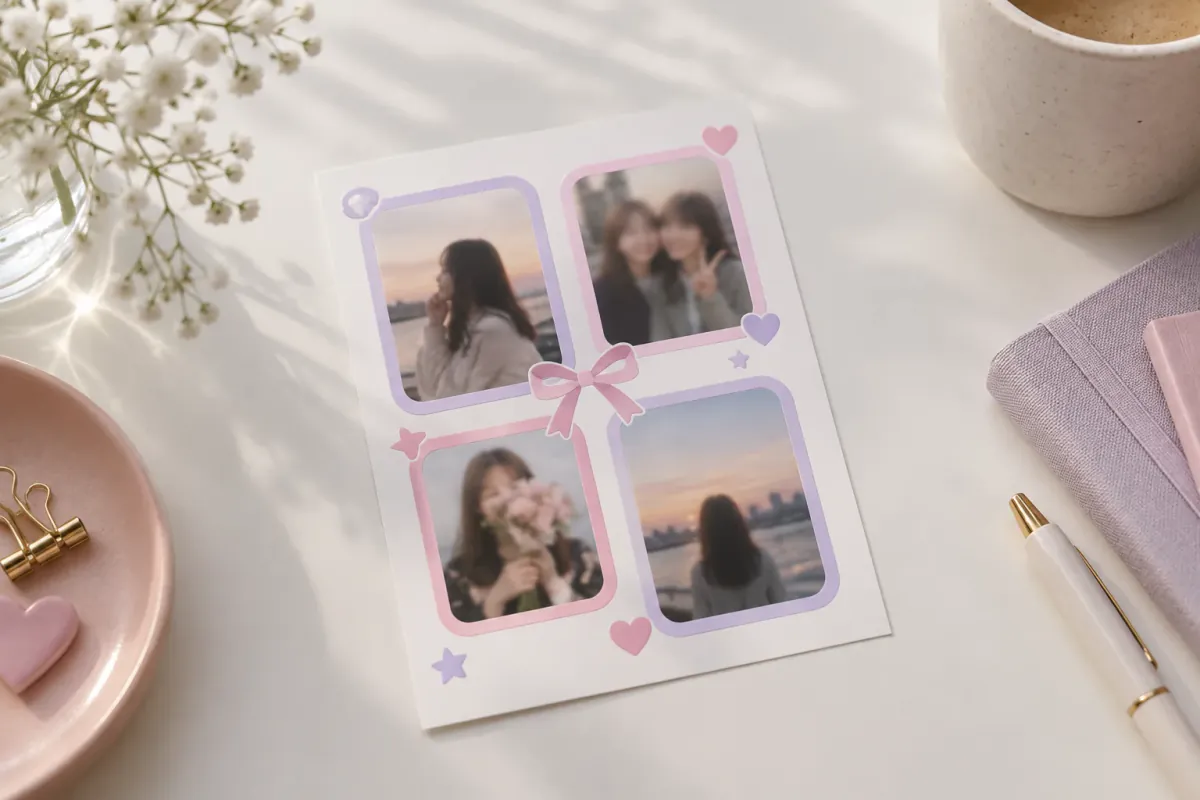
Purikura-style photos are less about a perfect portrait and more about decorating a shared memory. Close-up faces, pastel colour, rounded frames and a few expressive stickers make the final sheet feel like something you could put on a notebook or phone case.
What the browser version is good at
Open the Purikura photo booth, fill four frames, and keep the soft filter. In Decorate, add a bow, heart, sparkle or speech bubble, then write a short caption. Save the sheet and print it on sticker paper if you want the physical sticker effect.
This is a purikura-inspired layout, not a replacement for the automatic beauty effects or timed decoration screen of a dedicated arcade machine. The browser version is useful when you want control over the photos and the final file.
What to keep from the style
- Frame faces fairly close so the stickers do not overpower them.
- Use a light pastel background and one accent colour.
- Add decoration around the edges, not across eyes and mouths.
- Keep the caption short enough to read when printed small.
- Leave a little empty space. A sheet does not need a sticker in every corner.
Make a decorated sheet online
- Open the Purikura style. It starts with a lilac patterned frame, rounded photo boxes and a few small decorations.
- Choose Take 4 photos for a timed session, or Choose from gallery to use existing images.
- Move closer than you would for a full-body strip. The faces are the subject.
- In Decorate, keep Soft, then drag a bow, heart, star or sparkle into place. Use the yellow corner handle to resize or rotate it.
- Add a caption such as
best friends,today, or the date. You can also turn on Retro date stamp on each photo. - Save with the button for your device.
Try Hearts when you want the photos themselves to become the main decoration.
Easy poses for the sheet
- Peace sign under the chin
- Cat paws beside the face
- Hands pressing the cheeks
- Heads together with one shared heart
- Everyone looking slightly upward
- One exaggerated surprised expression
For more combinations, see 30 photo booth poses.
Use your own frame
If you already have a fan-made or template frame, save it as a PNG with transparent photo windows. Go to Style → Upload frame PNG. The booth detects the windows; use Adjust photo boxes if one needs to move. The original frame is kept in My frames in this browser.
A JPG cannot contain transparent windows. Also check that a downloaded PNG has real transparency rather than a checkerboard pattern baked into the image.
Print it as a sticker sheet
- Save the finished image at full size.
- Use printable sticker paper that matches your printer: inkjet paper for an inkjet printer, laser paper for a laser printer.
- Print one test sheet first and check that small captions are still readable.
- Cut individual photos, the whole sheet, or a few sticker clusters.
For a narrow strip, choose 2 copies on one 4×6 print before saving. You can use one copy on a phone case and keep the other in a planner.
What it does not reproduce
The browser version gives you control over the composition and the saved file, but it is intentionally narrower than a dedicated arcade machine:
- It does not automatically enlarge eyes, reshape faces or apply a beauty pass.
- It does not include the timed handwriting and stamp interface of a physical booth.
- It does not print stickers by itself; save the sheet and use sticker paper or a photo printer.
You can still upload your own transparent PNG stickers from Decorate → Your PNG, use photos from the gallery, and keep the finished sheet in your browser while you edit.